What Are the Best Practices for Installing Busbar Insulators in Electrical Systems?
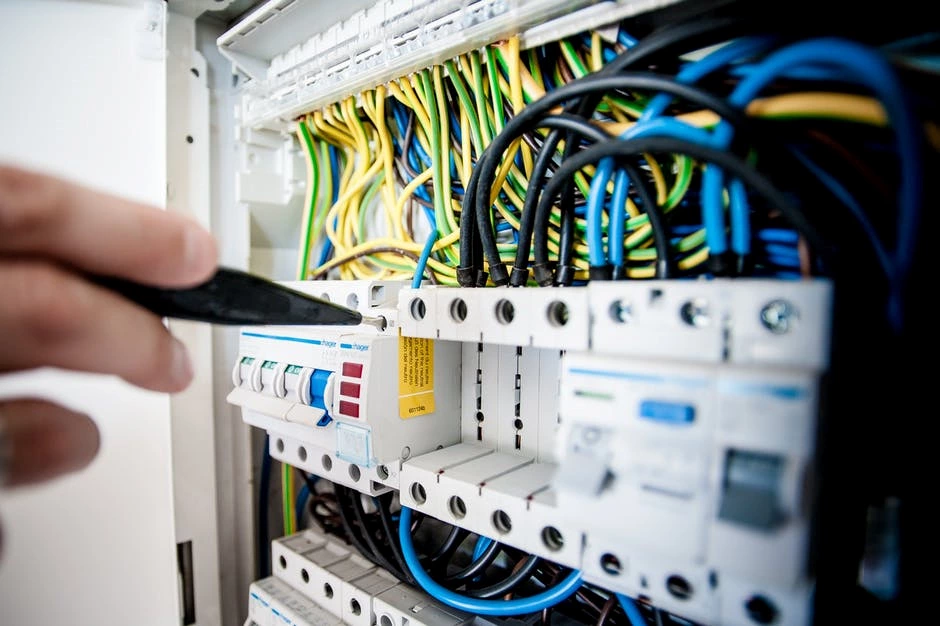
Ensuring proper installation of busbar insulators can save time, reduce risks, and improve system reliability. Ignoring best practices often leads to costly downtime and system failures.
Proper installation of busbar insulators involves selecting the right materials, following design standards, and performing thorough quality checks.
I once faced a project delay due to incorrect insulator installation. That experience taught me the value of preparation and precision, which I’ll share below.
[Table of contents]
- Why is choosing the right busbar insulator critical for installation?
- How does proper mounting impact system efficiency?
- What are the common pitfalls during installation and how to avoid them?
- Conclusion
Why is choosing the right busbar insulator critical for installation?
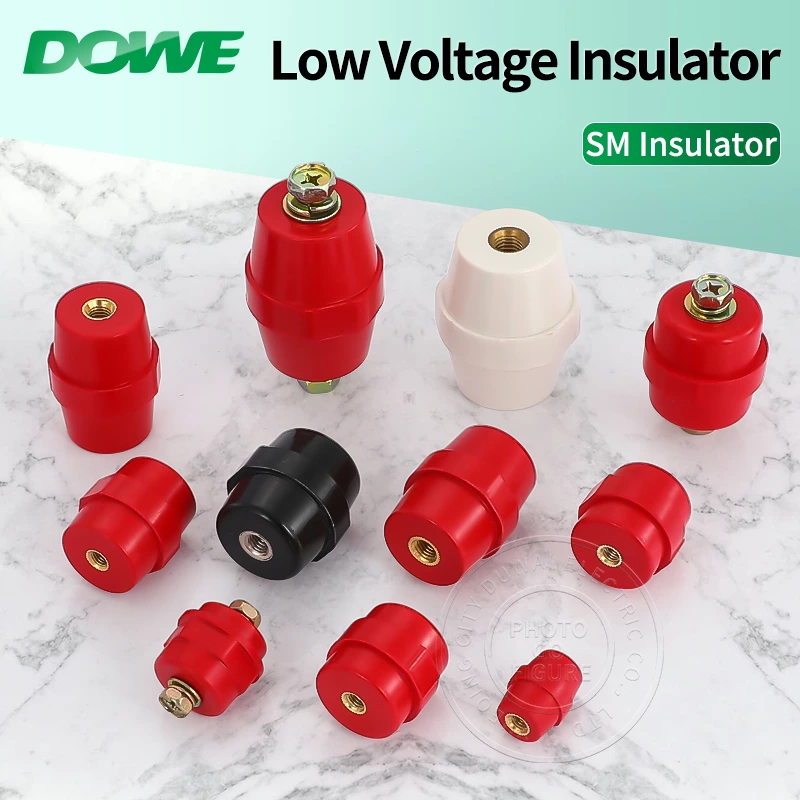
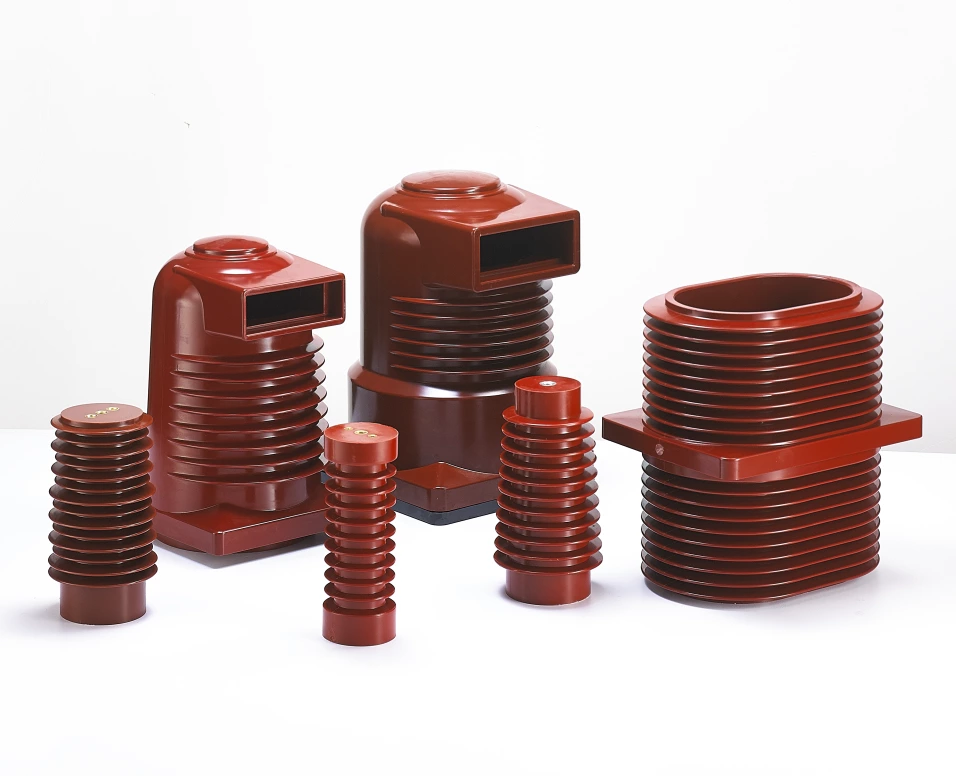
Selecting the correct insulator is the foundation of a reliable system. A wrong choice can result in overheating, arcing, or mechanical failure.
The best busbar insulator is one that aligns with system voltage, environmental conditions, and load capacity.
Many neglect to assess their operating environment, such as extreme temperatures or humidity. I recommend analyzing these factors during the planning phase to avoid future issues.
Key factors to consider when selecting an insulator
- Material: Choose high-strength materials like fiberglass or ceramics for durability. Learn more about busbar materials1
- Voltage rating: Ensure the insulator can handle the system’s operating voltage.
- Environmental resistance: Opt for UV and moisture-resistant coatings if exposed to outdoor conditions.
Comparison of common insulator materials
| Material | Strength | Application |
|---|---|---|
| Fiberglass | High | Indoor/Outdoor |
| Ceramic | Very high | High-temperature |
| Epoxy Resin | Moderate | Lightweight systems |
How does proper mounting impact system efficiency?
A securely mounted insulator minimizes vibration and prevents misalignment, which can lead to electrical faults.
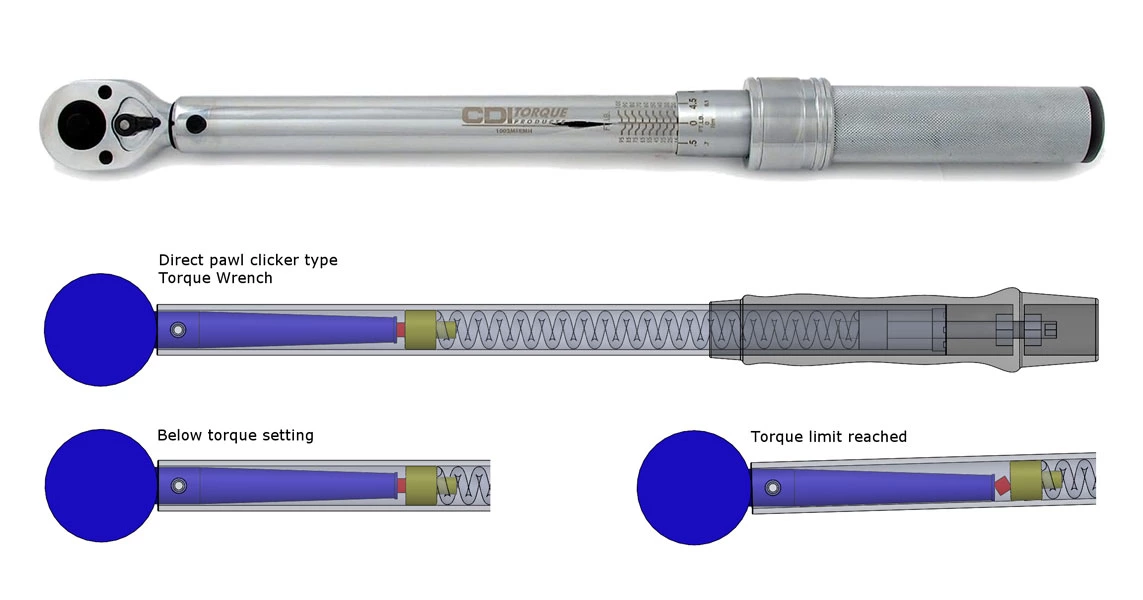
Always follow manufacturer guidelines for torque settings and fastening methods. Learn about torque settings2
Improper mounting was once a recurring issue in one of my projects, causing loosened connections and energy loss. By introducing standard operating procedures, we achieved consistent results.
Step-by-step mounting guide
- Inspect the mounting surface for irregularities.
- Align the insulator precisely with the busbar.
- Use calibrated tools to apply even torque.
- Perform a final inspection for stability.
What are the common pitfalls during installation and how to avoid them?
Even experienced teams can make mistakes like overtightening bolts or neglecting routine inspections.
Common mistakes include ignoring load requirements, poor alignment, and using incompatible accessories. Avoid installation errors3
A proactive approach, including regular training and adherence to standards, can reduce errors.
Conclusion
Following best practices for busbar insulator installation ensures safety, efficiency, and longevity. Proper preparation and execution make all the difference.
-
Readers can learn which materials (e.g., fiberglass, ceramics) are most suitable for their specific use cases, ensuring durability and reliability. ↩
-
Accurate torque ensures secure mounting, preventing vibrations and misalignment in busbar systems. ↩
-
This resource will help readers identify and mitigate frequent installation mistakes, improving efficiency and reducing downtime. ↩

