Zipper heat shrink tube installation process, detailed graphic steps
Zipper heat shrink tube is used as emergency cable repair heat shrink tube. It is also called cable repair piece. It is also called open heat shrink tube. Because it is open type and uses a metal buckle like a zipper, it is called zipper type heat shrink tube. Shrinkable tubing can be easily understood by looking at its actual picture structure. Although both zipper-type heat shrinkable tubing and ordinary heat shrinkable tubing are heat shrinkable tubing, both have the function of heating and shrinking. However, due to their different structures, there are differences in how to use them and how to use them. The installation process is also different. Heat shrink tube manufacturer Fuxinyi will introduce the installation process of zipper heat shrink tube in detail.
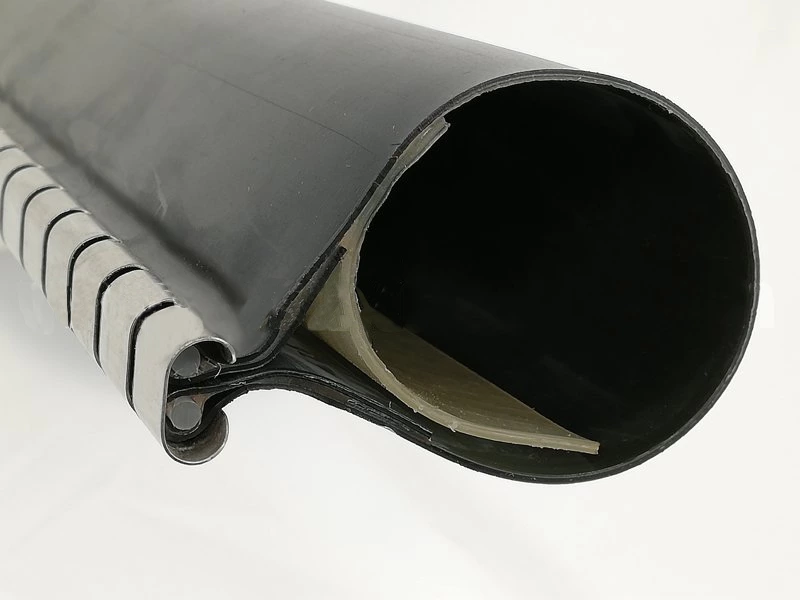
1. Because outdoor cables need to be waterproof and sealed, it is necessary to clean the damaged parts of the cable, remove dust and debris, and polish the cables at both ends with sandpaper in the circumferential direction, so that the hot melt glue can fully bond to achieve a sealed and waterproof effect.
2. Use a marker to mark both sides of the casing, and mark the area of the cable that needs to be repaired on the zippered heat shrink tube.
3. During installation, the damaged part should be placed in the middle of the repair piece to achieve complete repair.
4. Open the cable cleaning wipes and clean the polished cable parts.
5. Paste heat-insulating aluminum foil 10mm from the inside of the marked position outward.
6. Use a hard object to scrape the heat-insulating aluminum foil and smooth it so that it is close to the cable.
7. The length of the pasted aluminum foil in the casing should be 10mm.
8. Put on the repair piece, put on the clip, fasten the lap buckle (not used below 600mm), put the zipper heat shrink tube on the damaged location of the cable that needs to be repaired, and clip the clip on the main zipper heat shrink tube.
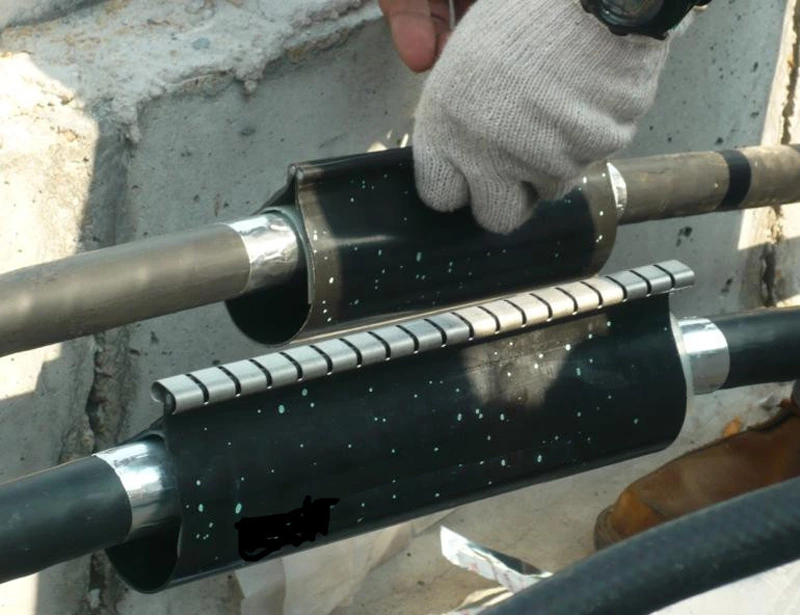
9. First preheat the card strip with low heat for 10 seconds, and then use a flame to preheat the card strip position for 10 seconds. Because the card strip position is thicker and not easy to shrink, the advantage of this is that the zipper heat shrink tube shrinks more evenly.
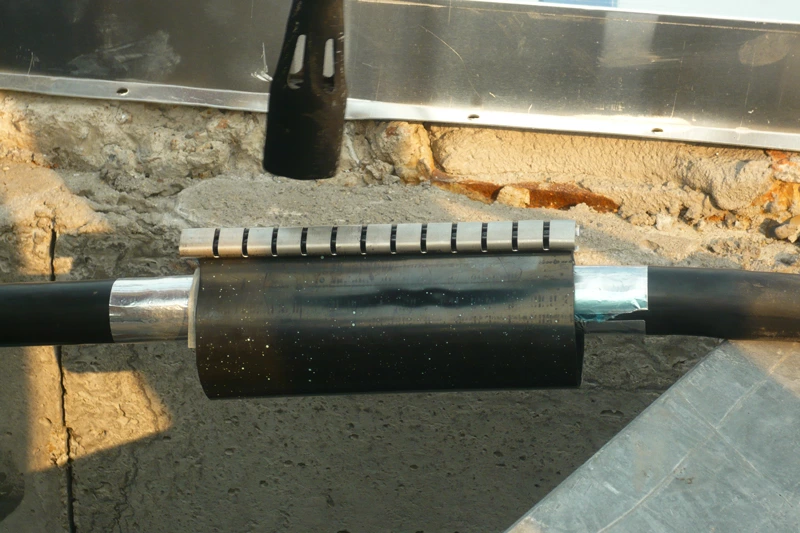
10. Heat and shrink evenly from the middle to both ends of the repair piece.
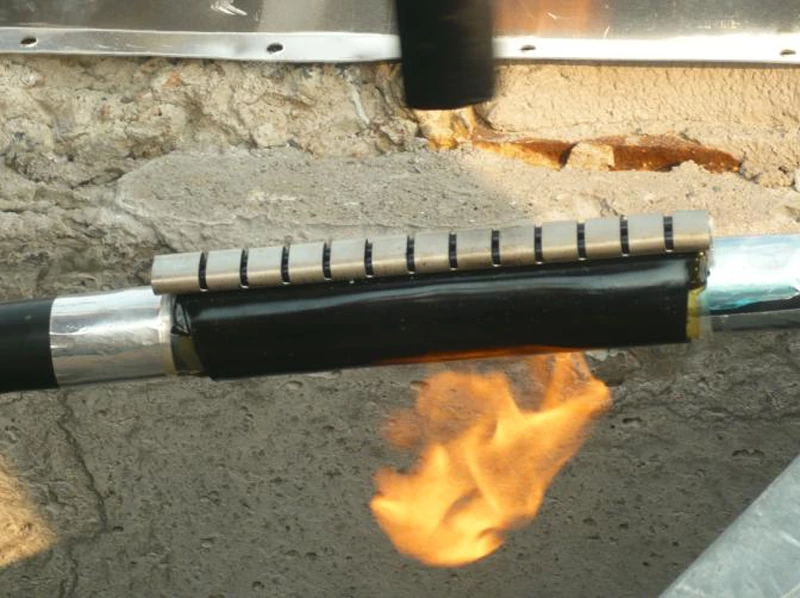
11. Heating and shrinking the zipper-type heat shrink tube, heating it evenly from one end to the other end. If there is glue overflowing from the port, the small white dot temperature-indicating paint on the zipper-type heat shrink tube will completely turn into yellowish brown. Some models may not have temperature-indicating paint. Just look When there is hot melt glue overflowing at both ends and the heat shrink tube is closely attached to the cable, the construction can also be judged to be complete.
